By FALPC Intern, Kristina Kalolo
One of the easiest ways to eat more fresh, nutritious, local produce is to grow it in your own backyard! Think of all the possibilities:

- Save money – You can grow, and eat, an abundance of all of your favorite vegetables and herbs at a fraction of the cost.
- Know your food – You will know exactly what is and isn’t in your food. No mystery pesticides, contaminants, or chemicals here.
- Reduce stress – Spend more time outside in peace and tranquility. Horticulture therapy, it’s a real thing – check it out.
- Exercise – You can burn as many calories gardening for 45 minutes as doing 30 minutes of aerobics!
- Eat more fruits and vegetables – You will have a tremendous variety at your very own finger tips! Adults who live in a household with a garden are 3.5 times as likely to eat the recommended servings of fruits and vegetables.
- Education – There is no better way to learn than by doing! If you have kids or grandchildren, this is a fantastic way to teach them where their food comes from and help them eat a healthier diet.
So now we know there are all these great benefits to growing your own food. It gets even better: it is really easy to get started, even if you are a beginner! I was fortunate enough to attend Growing Place’s Gardener’s Gathering. Growing Places is an awesome Leominster-based organization that helps people with limited economic means grow their own food. Their event is where I learned how quick and simple it is to make your own raised bed garden frame (or garden that is built on top of native soil). It takes less than 30 minutes to build your raised bed garden!
1. Things to Think About:
- Sun – Will your garden receive enough direct sunlight?
- Water – Will be easily able to water your garden? Is it close enough to your hose?
- Animals – Depending how hungry your deer and moles are you might want to fence!
- Soil – Growing Places recommends: 1/3 part peat moss + 1/3 part compost + 1/3 part vermiculite/perlite **As most of you Worcester folks know, you need to be careful with our soil due to lead and other contaminants. If you want to get your soil tested, get in touch with the ever lovely Toxic Soil Busters over at Worcester Roots!
2. Things You Will Need:
Materials (depending on the wood should be about $45-$60 all together):
(4) A Z35 Angles
(2) 2”x8”x8’ boards
(2) 2”x8”x4’ boards
(4) NS2 Nail Stoppers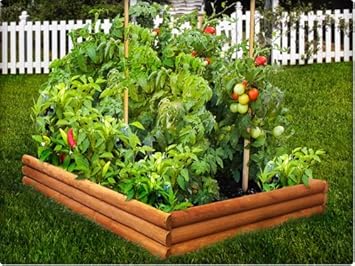
(20) #8×1¼”
wood screws
Tools:
(2) 5’ pipe clamps
(2) DeWalt 12v cordless power drills
(1) 3/32 drill bit
(1) Phillips head screwdriver bit
(1) 12’ tape measure
(1) black magic marker
(1) hammer
(1) mallet
3. How to Make It (Thanks to Growing Places for these great instructions!)
1. Take two 8’ planks and two 4’ planks to a construction area. The 8’ planks are each marked with “Top” on one side for orientation and already have A35Z Angles mounted on each end.
2. Set the two 8’ planks on edge with “Top” up and the planks facing each other. Now place one 4’ board between the ends of the 8’ footers fitting them up against the installed A35Z Angles. Use the 5’ pipe clamp to hold the boards together by placing it across the outside of the ends and tightening the clamp.
3. Now place the other 4’ board in a similar fashion at the other end of the 8’ footers. Place another 5’ pipe clamp on each corner and tighten to hold the ends securely. You now have a rectangular box.
4. Starting at one end, look to see if the ends are squared up with one another and, if not, adjust them with the hammer. In one corner, drill three holes in the 4’ board using the A35Z Angle for a guide. Starting at the top hole, attach the bracket to the 4’ board using the screws provided. Do the same for the other corner of the frame.
5. At the other end of the frame, start at one corner and drill three holes. Again, using the screws provided attach the corner bracket to the 4’ board. Now do the same for the last corner of the frame.
6. Place a NS2 nail stopper tie on top of the adjoining corners making sure the edges of the nail stopper tie do not stick out anywhere over the edge of the board. This is to prevent gardeners from getting cut on the edge of the tie. Hammer the tie into the wood to secure it and then using the power drill put in screws in each of the holes at the ends of the tie. You will not usually need to pre-drill these two holes. Do the same for each of the remaining three corners.
7. Finally, using a magic marker and a tape measure mark off 1’ lengths on each of the four sides of the frame. Make sure to start measuring in the same place for each side so that marks will align with one another. These marks will be used at the time of the installation of the garden to add nails and string to designate areas for square foot planting.
8. Congratulations! You have now completed an 8’ x 4’ frame!
For all you visual learners, here is really helpful video about how to build these raised beds.
4. Now What?! 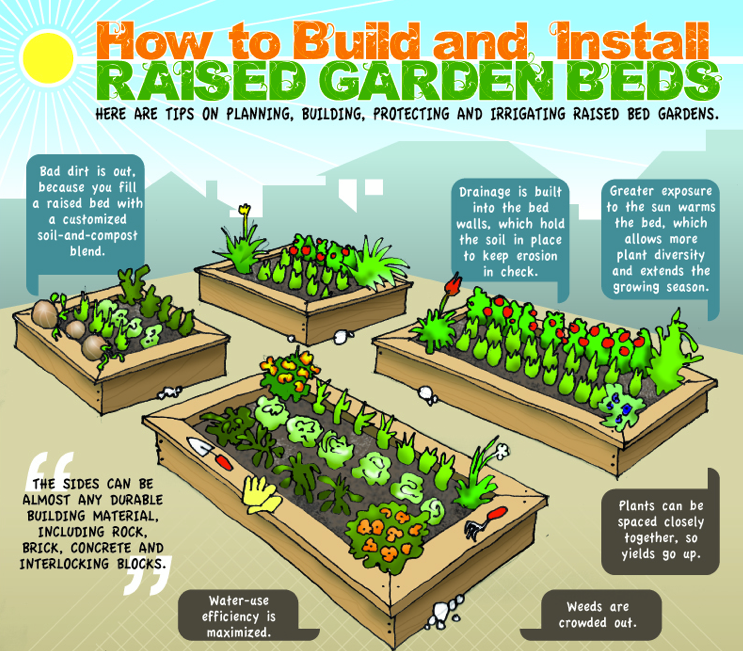
Well, you now have a fabulous raised bed garden frame to grow of all your herbs and vegetables. Growing Places has a fantastic resource section that makes it really easy for beginners to help plan their gardens – include a step-by-step Guide to Raised Bed Gardening. It includes information on Square Foot Gardening, what vegetables grow well together, how to properly weed and water your garden, and much more!